Suspension Chest Fly (TRX Fly): Proper Form, Sets & Reps, Mistakes & FAQ
Learn how to do the Suspension Chest Fly (TRX Fly) with perfect form. Step-by-step cues, sets & reps by goal, common mistakes, FAQs, and the best suspension training gear.
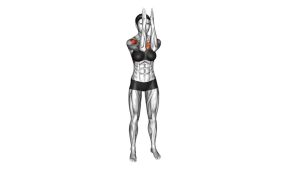
Suspension Chest Fly (TRX Fly)
This is not a “drop-and-bounce” fly. The best reps are controlled and repeatable. You should feel the chest working through the arc while your core prevents your ribs from flaring and your hips from sagging. Keep a soft bend in the elbows and let the chest do the moving—not your lower back.
Quick Overview
| Body Part | Chest |
|---|---|
| Primary Muscle | Pectoralis major (sternal fibers emphasized) |
| Secondary Muscle | Anterior deltoids, serratus anterior, biceps (stabilization), core (anti-extension) |
| Equipment | Suspension trainer (TRX-style) or gymnastic rings + secure anchor |
| Difficulty | Intermediate (scales from beginner-friendly to very advanced by foot position) |
Sets & Reps (By Goal)
- Hypertrophy (muscle growth): 3–5 sets × 8–12 reps (60–90 sec rest)
- Strength + control: 4–6 sets × 5–8 reps (90–150 sec rest, slower tempo)
- Endurance / conditioning finisher: 2–4 sets × 12–20 reps (45–75 sec rest)
- Shoulder stability focus: 2–4 sets × 6–10 reps (3–5 sec eccentric, perfect form)
Progression rule: First increase stability (less strap shake) and range control. Then add reps. Only increase difficulty by moving your feet back (more horizontal body angle) once you can keep your ribs down and shoulders packed.
Setup / Starting Position
- Anchor + strap length: Set straps even and secure. Handles at mid-chest height is a great starting point.
- Body angle: Step your feet forward to make it easier; step back to increase difficulty (more body lean).
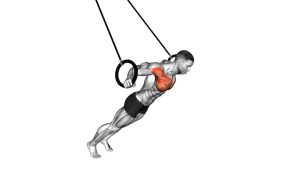
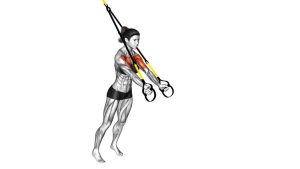
- Plank position: Squeeze glutes, brace abs, and keep a straight line from head to heel.
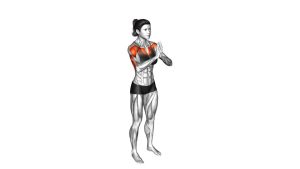
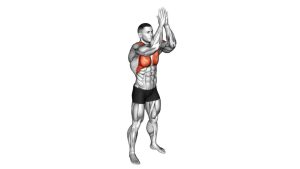
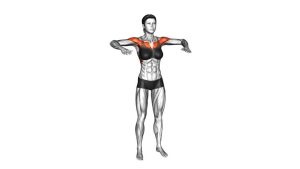
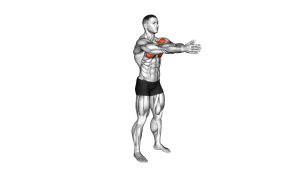
- Arm position: Hands in front of chest, palms facing each other, elbows slightly bent (never locked).
- Shoulders “set”: Keep shoulders down and back lightly—avoid shrugging up toward ears.
Tip: If the movement feels mostly like shoulder strain, reduce your lean and shorten range until the chest becomes the main driver.
Execution (Step-by-Step)
- Brace first: Lock in glutes + core. Keep ribs down so your low back doesn’t arch.
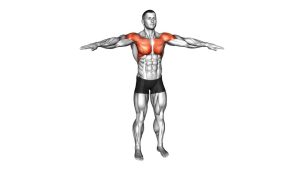
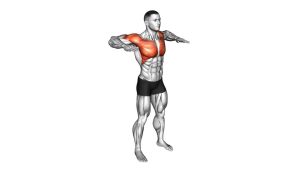
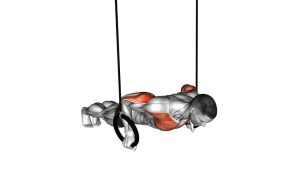
- Open the arms: Lower in a wide arc until you feel a strong but controllable chest stretch.
- Keep elbows soft: Maintain a small bend the whole time (don’t turn it into a press or a straight-arm joint stress).
- Pause briefly: Hold the bottom for 0.5–1 sec while staying stable and breathing.
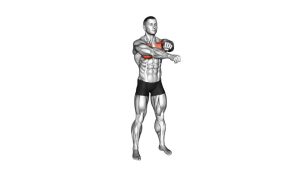
- “Hug” back to center: Bring hands together using the chest, keeping shoulders away from ears.
- Finish strong: Stop with hands in front of chest—don’t let straps go slack. Reset and repeat.
Pro Tips & Common Mistakes
Pro Tips
- Think “plank + hug”: your torso stays fixed while arms move.
- Control the eccentric: 2–4 seconds down builds chest and protects shoulders.
- Adjust difficulty fast: one small step forward can instantly clean up form.
- Own your range: go as deep as you can without shoulder discomfort or losing tension.
- Neutral wrists: keep wrists straight to reduce strain and improve stability.
Common Mistakes
- Elbows bending too much: turns it into a press and reduces the fly stimulus.
- Overstretching at the bottom: shoulder stress goes up when you chase depth without control.
- Hips sagging / ribs flaring: steals tension from chest and overloads low back.
- Shrugging shoulders: overuses upper traps and can cause neck/shoulder irritation.
- Rushing reps: fast reps = shaky straps and poor chest tension.
FAQ
Where should I feel the Suspension Chest Fly?
Mostly in the chest—especially as you close the arms back together—plus strong core engagement to keep your body rigid. You may feel the anterior delts and biceps working to stabilize, but you shouldn’t feel sharp shoulder pinching.
How do I make it easier or harder?
The fastest lever is your foot position. Step forward to reduce load (more upright body). Step back to increase load (more horizontal). You can also slow the eccentric or add a pause at the bottom.
Is this better than dumbbell or cable flys?
It’s different. Suspension flys add a big stability component, which is great for shoulder control and core tension. Cables are often easier to load progressively. Many programs do well using both.
My shoulders feel it more than my chest—what should I change?
Step forward to reduce load, keep elbows slightly bent, and limit depth until your shoulders feel stable. Also focus on “shoulders down and away from ears” and a controlled 2–4 second lowering phase.
How should I program it on a push day?
Use it as an accessory after presses: 3–4 sets of 8–12 with clean control. Or use higher reps (12–20) as a chest finisher when you want tension without heavy joint load.
Recommended Equipment
- TRX-Style Suspension Trainer — adjustable straps + handles for flys, rows, presses, and core work
- Gymnastic Rings (with Straps) — a strong alternative for flys, dips, rows, and advanced upper-body control
- Door Anchor for Suspension Trainer — convenient setup for home training without drilling hardware
- Thick Exercise Mat — improves comfort and traction for feet positioning and stability
- Resistance Bands Set — perfect for warm-ups (band pull-aparts) and extra chest/shoulder accessory work
Tip: Prioritize a secure anchor and even strap length. Stability and safety matter more than adding difficulty too soon.