Roll Ball Side Lying Scalene Activation: Form, Sets & Tips for Neck Stability
Learn the Roll Ball Side Lying Scalene Activation to improve neck control and posture. Step-by-step form cues, sets & reps by goal, common mistakes, FAQs, and recommended equipment.
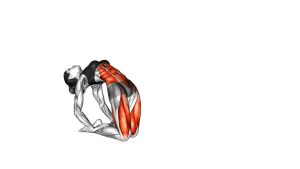
Roll Ball Side Lying Scalene Activation
This drill is most effective when it feels subtle and precise. You’re training the neck to stabilize and control micro-movements—similar to “turning on” the right muscles rather than pushing heavy resistance. If you feel jaw clenching, shoulder shrugging, or a headache-like pressure, reduce the force and range immediately.
Quick Overview
| Body Part | Neck |
|---|---|
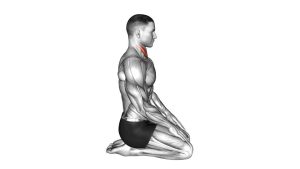
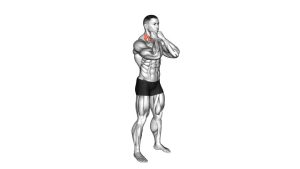
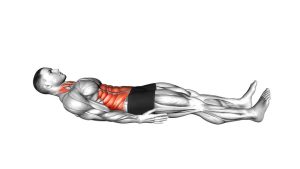
| Primary Muscle | Scalenes (Anterior / Middle / Posterior) |
| Secondary Muscle | Deep cervical stabilizers; upper cervical proprioceptors (light) |
| Equipment | Small ball + firm support surface (optional: towel/pillow for comfort) |
| Difficulty | Beginner–Intermediate (easy load, high precision) |
Sets & Reps (By Goal)
- Neck activation (warm-up): 2–3 sets × 6–10 slow reps per side (1–2 sec roll + 1–2 sec return, 30–60 sec rest)
- Posture support (daily practice): 2–4 sets × 8–12 reps per side (very light pressure, 30–45 sec rest)
- Rehab-style control: 2–3 sets × 5–8 reps per side with a 2–5 sec “quiet hold” (45–75 sec rest)
- Desk-break reset: 1–2 sets × 5–8 reps per side (easy effort, no fatigue chasing)
Progression rule: First improve smoothness and reduce compensation. Then add 1–2 reps or extend the hold time. Only increase pressure when your neck stays relaxed and “quiet.”
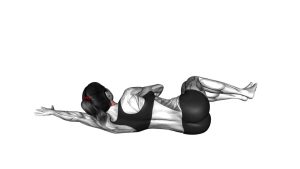
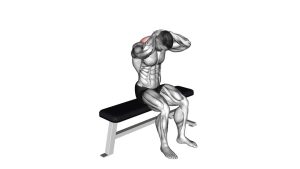
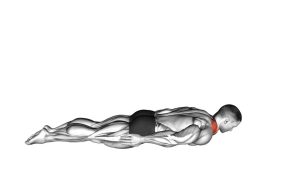
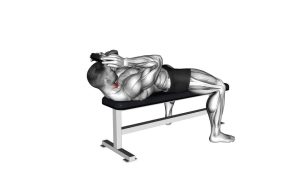
Setup / Starting Position
- Lie on your side: Keep your body long and comfortable. Use the bottom arm for support or rest it under your head if needed.
- Place the ball: Put a small ball near the side of your head (temple/upper jaw area—not on the throat).
- Choose a support: Position the ball against a firm surface (block, low platform, or folded towel on a stable surface).
- Neutral neck: Keep the neck long—avoid collapsing into side-bending. Think “tall neck,” even in side-lying.
- Relax the jaw & shoulders: Teeth not clenched, shoulders down, breathing calm.
Tip: If the ball feels too intense, use a softer ball or add a thin towel layer to reduce pressure.
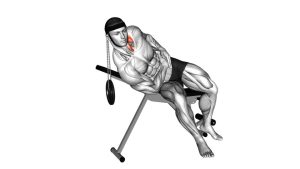
Execution (Step-by-Step)
- Start light contact: Gently “meet” the ball with the side of your head—no pushing yet.
- Apply minimal pressure: Press into the ball at about 3–5/10 effort. You should feel the side-neck activate without strain.
- Micro-roll / micro-glide: Make a tiny rolling/gliding motion against the ball (a few millimeters). Keep it slow and controlled.
- Stay stacked: Don’t rotate your head, don’t crunch your neck, and don’t shrug. Keep breathing easy.
- Return smoothly: Ease back to the start position and repeat—your reps should look “quiet.”
Pro Tips & Common Mistakes
- Use less force than you think: This is a control drill. Too much pressure leads to compensation.
- Keep movement tiny: Millimeters, not inches. Micro-movement trains stability best.
- Avoid throat pressure: Keep the ball on the side of the skull/upper jaw area, not the front of the neck.
- No head twisting: Rotation turns it into a different pattern and often recruits the wrong muscles.
- Keep shoulders relaxed: If traps turn on, reset posture and decrease effort.
- Breathe calmly: Breath holding increases global tension and reduces precision.
- Stop chasing “burn”: You want controlled fatigue, not strain or headache pressure.
FAQ
Where should I feel this exercise?
You should feel gentle activation along the side/front of the neck (scalenes). If you mostly feel jaw clenching, strong side-neck “ropes,” or shoulder tension, reduce pressure and range.
How hard should I press into the ball?
Keep it light: about 3–5/10 effort. Pressing harder usually makes the neck compensate and can trigger headaches or tension. Your reps should be quiet and controlled.
Is this good for posture or “tech neck”?
It can help improve neck control and stability. For best results, combine it with chin tuck control, upper-back strengthening (rows, pull-aparts), and chest mobility.
What if the ball feels uncomfortable?
Use a softer ball, add a thin towel layer, or reposition slightly higher toward the side of the skull. Avoid placing pressure on the throat or jaw hinge.
Who should avoid or be cautious with this drill?
Anyone with acute neck injury, severe pain, dizziness/vision changes, or nerve symptoms (tingling/numbness down the arm) should avoid pushing neck work and seek professional guidance.
Recommended Equipment (Optional)
- Soft Therapy / Massage Ball — gentle feedback for side-lying neck activation without excessive pressure
- Mini Medicine Ball (Soft Shell) — stable shape and size for controlled rolling/gliding drills
- Yoga Block (Foam or Cork) — creates a consistent support height to position the ball comfortably
- Thick Exercise / Yoga Mat — improves comfort and alignment during side-lying setups
- Cervical Roll / Neck Support Roll — optional comfort support to help keep the neck neutral during practice
Tip: If any tool increases symptoms, stop and reassess. The neck responds best to light pressure, precision, and consistent practice.