Standing One-Arm Arm Circles: Shoulder Warm-Up, Form, Sets & Tips
Learn how to do Standing One-Arm Arm Circles for shoulder mobility and activation. Step-by-step form, sets & reps by goal, common mistakes, FAQs, and recommended warm-up gear.
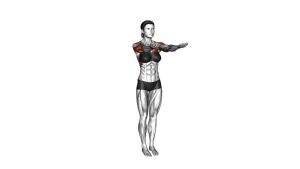
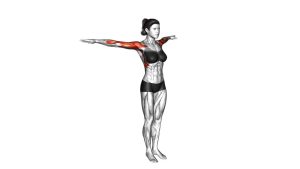
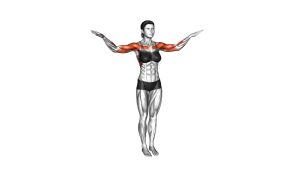
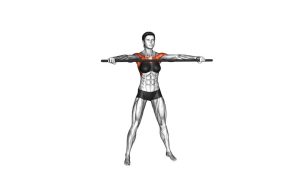
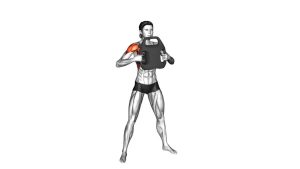
Standing One-Arm Arm Circles
Arm circles look easy, but doing them well is about control, not speed. You’re training the shoulder to move smoothly through a circular path while the ribs, spine, and shoulder blade stay stable. Start with small circles, then build slightly as long as you keep your neck relaxed and your posture tall.
Quick Overview
| Body Part | Shoulders |
|---|---|
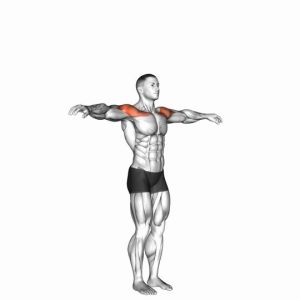
| Primary Muscle | Deltoids (especially anterior & lateral fibers) |
| Secondary Muscle | Rotator cuff, upper back stabilizers (traps/rhomboids), serratus anterior |
| Equipment | None (optional light weights/band for progression) |
| Difficulty | Beginner (excellent warm-up and shoulder prep) |
Sets & Reps (By Goal)
- Warm-up (general): 1–2 sets × 20–40 seconds per arm (smooth tempo, easy effort)
- Mobility + control: 2–3 sets × 30–60 seconds per arm (small-to-medium circles)
- Shoulder endurance: 2–4 sets × 45–75 seconds per arm (moderate circles, strict posture)
- Desk-break reset: 1–2 sets × 15–30 seconds per arm (very light, no burn)
Progression rule: Increase time first, then circle size. Add light resistance only if your circles stay smooth and your shoulder doesn’t shrug or pinch.
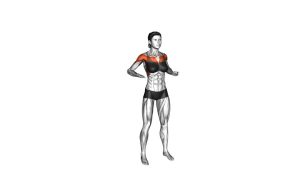
Setup / Starting Position
- Stand tall: Feet hip-width, knees soft, core lightly braced.
- Set your ribs: Keep the ribcage stacked over the pelvis—avoid flaring.
- Pack the shoulder: Shoulders down and relaxed (no shrugging), neck long.
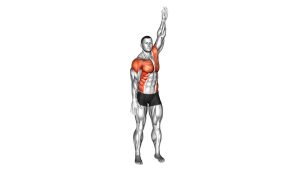
- Raise one arm: Lift one arm out to the side at about shoulder height, elbow mostly straight (not locked).
- Choose circle size: Start small so you can stay controlled and pain-free.
Tip: Think “smooth circle from the shoulder” — the wrist and elbow stay quiet.
Execution (Step-by-Step)
- Stabilize your body: Keep your torso still, head neutral, and ribs stacked.
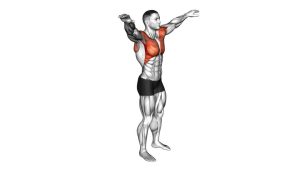
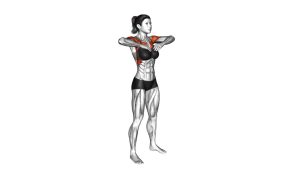
- Begin circling: Make small circles with the raised arm using the shoulder joint.
- Keep it smooth: No jerking or swinging—control the entire circle.
- Maintain shoulder position: Shoulder stays down (avoid shrugging toward the ear).
- Breathe and continue: Keep a steady rhythm for the target time, then switch arms.
Pro Tips & Common Mistakes
- Start small: Big circles aren’t better if you lose control or feel pinching.
- Stay tall: Don’t lean or twist—arm circles should not turn into torso circles.
- Quiet elbow/wrist: The shoulder drives the motion; avoid “floppy” arm swinging.
- No shrugging: Keep the shoulder down and the neck relaxed.
- Use both directions: Do circles forward and backward for more complete prep.
- Go before pressing: Perfect as a warm-up before push-ups, bench, overhead press, or dips.
FAQ
Should I do arm circles forward or backward?
Both are useful. Many people do forward circles first, then backward circles. Use the direction that feels smoother on your shoulders and keep the motion controlled.
Where should I feel this exercise?
You’ll usually feel light work in the delts and a gentle “warming” sensation around the shoulder. You should not feel sharp pinching in the front of the shoulder or strong neck/trap tension.
Can I add weight to arm circles?
Yes, but only after you can do smooth circles pain-free. Start with very light weight (or a band), keep circles smaller, and stop if you feel joint irritation.
How long should a good warm-up set be?
For most people: 20–40 seconds per arm is enough to prep the shoulders. If you’re tight or training overhead, increase to 45–60 seconds with strict form.
Recommended Equipment (Optional)
- Light Dumbbells (1–5 lb) — add gentle resistance once bodyweight circles feel easy
- Mini Resistance Bands Set — great for shoulder activation drills (pull-aparts, external rotations)
- Shoulder Pulley (PT-style) — helpful for gentle range-of-motion work on recovery days
- Massage Ball (Lacrosse Ball) — useful for pec/upper-back release if your shoulders feel tight
- Foam Roller (Short) — supports thoracic mobility work that often improves shoulder movement
Tip: Equipment should make the warm-up feel better, not more painful. Keep resistance light and technique strict.