Hawaiian Squat: Form, Benefits, Sets, Tips & FAQ
Learn the Hawaiian Squat to build hip control, glute stability, balance, and lower-body coordination with safe form, sets, tips, FAQs, and gear.
Hawaiian Squat
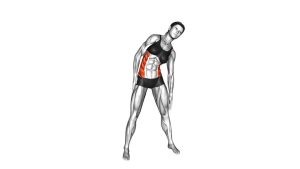
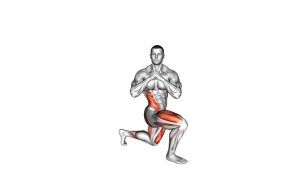
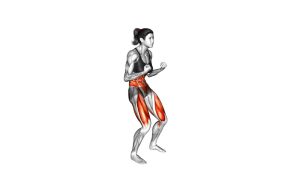
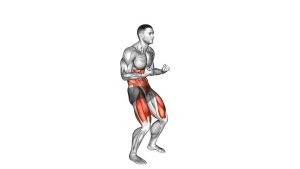
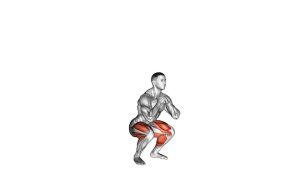
This exercise works best when performed with slow control, a tall torso, and a stable planted foot. It is especially useful as a warm-up drill, glute activation exercise, athletic coordination drill, or beginner-friendly balance movement. Keep the squat shallow, shift your weight with control, and lift the knee outward without swinging the leg.
Quick Overview
| Body Part | Legs |
|---|---|
| Primary Muscle | Glute medius, glute max, quadriceps |
| Secondary Muscle | Hip flexors, adductors, hamstrings, calves, core stabilizers |
| Equipment | Bodyweight only; optional balance support, resistance band, or yoga mat |
| Difficulty | Beginner to Intermediate |
Sets & Reps (By Goal)
- Warm-up / mobility: 2 sets × 6–8 reps per side using a slow, smooth tempo.
- Glute activation: 2–3 sets × 8–12 reps per side with a short pause at the top.
- Balance and coordination: 3 sets × 6–10 controlled reps per side.
- Lower-body conditioning: 3–4 sets × 10–15 reps per side with light rest between sets.
- Beginner practice: 1–2 sets × 5–8 reps per side while holding a wall or chair.
Progression rule: First improve control, balance, and knee position. Then increase reps, add a pause, slow the tempo, or use a light mini band around the thighs.
Setup / Starting Position
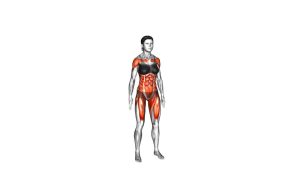
- Stand tall: Place your feet about hip-width to shoulder-width apart with your toes slightly turned out.
- Set your posture: Keep your chest lifted, ribs stacked, spine neutral, and eyes forward.
- Brace lightly: Engage your core enough to prevent your torso from twisting during the knee lift.
- Relax your arms: Let your arms move naturally for balance or place your hands in front of your body.
- Prepare the support leg: Keep your foot flat and your knee softly bent before shifting weight.
Tip: Use a wall, rack, or chair beside you if balance is difficult. The support should guide you, not pull you through the movement.
Execution (Step-by-Step)
- Begin with a shallow squat: Bend your knees and sit slightly down while keeping your chest upright.
- Shift your weight: Move your body weight smoothly over one planted leg without letting the knee collapse inward.
- Lift the opposite knee: Raise the free knee upward and outward to the side using hip flexion and hip abduction.
- Control the top position: Pause briefly while keeping the standing leg stable and the torso tall.
- Lower with control: Bring the lifted foot back to the floor without dropping, twisting, or rushing.
- Reset your stance: Return to the shallow squat position or stand tall before repeating on the same side or switching sides.
Pro Tips & Common Mistakes
- Keep the squat shallow: This exercise is about hip control and balance, not maximum squat depth.
- Drive the knee outward: The lifted knee should travel slightly to the side, not only straight forward.
- Control the support knee: Keep the standing knee tracking over the toes without collapsing inward.
- Stay tall: Avoid leaning your torso heavily to the side to fake the knee lift.
- Do not swing the leg: Lift with control instead of using momentum.
- Keep the foot grounded: The support foot should stay stable through the heel, mid-foot, and big toe.
- Use a slow tempo: Slow reps improve balance, glute activation, and coordination.
- Reduce range if needed: A smaller clean rep is better than a large unstable rep.
FAQ
What is the Hawaiian Squat good for?
The Hawaiian Squat is useful for improving hip stability, glute activation, balance, lower-body coordination, and control during single-leg weight shifts. It works well as a warm-up, mobility drill, or corrective exercise.
Is the Hawaiian Squat a strength exercise?
It can support strength development, but it is mainly a control and stability exercise. The movement is more focused on clean mechanics, hip positioning, and balance than heavy loading.
Where should I feel the Hawaiian Squat?
You should feel the glutes, especially the side glute area, working on the support leg. You may also feel the hip flexors and outer hip of the lifting leg, plus light work in the quads and core.
Why do I lose balance during this exercise?
Balance loss usually happens because the weight shift is too fast, the support foot is unstable, or the knee lift is too high. Slow down, reduce the range, and use a wall or chair until your control improves.
Can beginners do the Hawaiian Squat?
Yes. Beginners can perform it with a smaller squat, lower knee lift, and external support. Focus on clean control before increasing range, speed, or reps.
Should I add resistance to this exercise?
Only add resistance once your bodyweight form is stable. A light mini band can increase glute activation, but it should not cause knee collapse, hip pinching, or loss of balance.
Recommended Equipment (Optional)
- Mini Resistance Bands — useful for adding light glute activation around the thighs.
- Non-Slip Exercise Mat — helps provide stable footing during balance-based bodyweight drills.
- Balance Pad — optional progression for advanced ankle and hip stability training.
- Adjustable Ankle Weights — advanced option for adding light resistance to the knee-drive phase.
- Yoga Blocks — helpful as a touch target or balance reference during controlled reps.
Tip: Keep resistance light. The Hawaiian Squat should remain smooth, stable, and controlled from start to finish.