Standing Middle Back Rotation Stretch: Form, Benefits, Sets & Tips
Learn the Standing Middle Back Rotation Stretch to improve thoracic mobility, oblique flexibility, posture, and controlled core rotation.
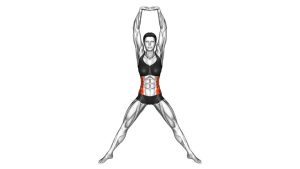
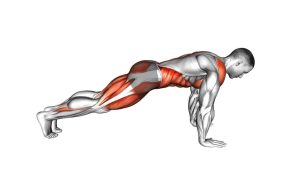
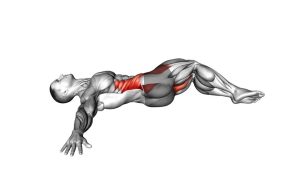
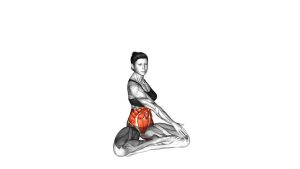
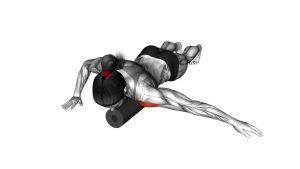
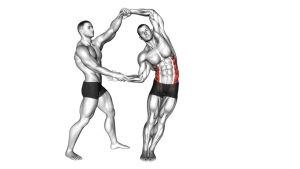
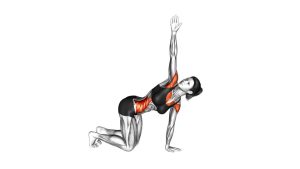
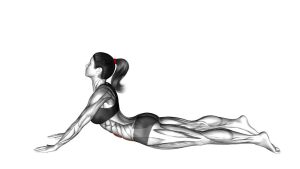
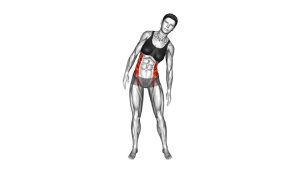
Standing Middle Back Rotation Stretch
This stretch is useful when you want to loosen the middle back, improve rotational comfort, and build better awareness through the trunk. Because the movement uses no equipment, it also works well as a warm-up, desk-break reset, or light mobility finisher. However, the goal is not to twist as far as possible. Instead, rotate smoothly, keep the hips quiet, and stay tall through every repetition.
Quick Overview
| Body Part | Upper Back / Middle Back |
|---|---|
| Primary Muscle | Thoracic spine stabilizers and middle-back rotational muscles |
| Secondary Muscle | Obliques, deep core stabilizers, and spinal erectors |
| Equipment | None |
| Difficulty | Beginner |
Sets & Reps (By Goal)
- Mobility warm-up: 2–3 sets × 8–12 reps per side with a slow, controlled rhythm.
- Desk-break reset: 1–2 sets × 6–10 reps per side using a comfortable range of motion.
- Posture and trunk control: 2–4 sets × 10–15 reps per side while keeping the hips stable.
- Cool-down stretch: 2 sets × 5–8 slow reps per side with a brief pause at the end range.
Progression rule: First improve smoothness and control. Then, gradually increase range only if the hips remain still and the back feels comfortable.
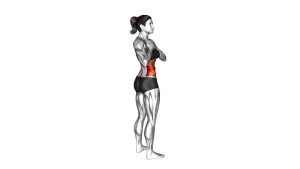
Setup / Starting Position
- Stand tall: Place your feet about shoulder-width apart and keep your weight balanced evenly through both feet.
- Place hands on hips: Rest both hands firmly on your hips so you can feel whether the pelvis starts to move.
- Stack the torso: Keep the chest lifted, ribs controlled, shoulders relaxed, and head aligned with the spine.
- Brace lightly: Engage the core just enough to stay stable without holding your breath.
- Start neutral: Face forward before each rep so both sides begin from the same position.
Execution (Step-by-Step)
- Begin from neutral: Stand upright with your hands on your hips and your eyes looking forward.
- Rotate to one side: Slowly turn your torso to the left while keeping the hips as stable as possible.
- Follow with the head: Let your head turn naturally with the chest instead of forcing the neck separately.
- Pause briefly: Hold the end position for a moment while keeping the shoulders relaxed and the spine tall.
- Return to center: Rotate back to the starting position with control.
- Repeat to the other side: Turn the torso to the right using the same smooth tempo and range.
Pro Tips & Common Mistakes
- Keep the hips quiet: Use your hands as feedback so the pelvis does not follow every twist.
- Stay tall: Avoid collapsing the chest or rounding the upper back as you rotate.
- Move slowly: A controlled rotation gives better mobility benefits than fast, loose twisting.
- Do not bounce: Never pulse aggressively at the end range. Instead, pause gently and return with control.
- Avoid leaning: Rotate around a tall spine rather than bending sideways.
- Breathe naturally: Exhale softly as you rotate, then inhale as you return to center.
- Use a pain-free range: Mild stretch is fine, but pinching or sharp discomfort means the range is too large.
FAQ
What muscles does the Standing Middle Back Rotation Stretch target?
It mainly targets thoracic rotation through the middle and upper back. Additionally, the obliques and deep core muscles help guide and control the twisting motion.
Is this exercise good for middle-back stiffness?
Yes. It can help reduce general stiffness by encouraging gentle rotation through the thoracic spine. However, it should be performed slowly and within a comfortable range.
Should my hips move during the stretch?
Ideally, the hips should stay mostly stable. If the pelvis turns too much, the movement becomes more of a whole-body twist instead of a middle-back mobility drill.
Can I do this exercise every day?
Yes, many people can perform it daily because it is low impact and uses no load. Start with 1–2 easy sets and increase only if your back feels better afterward.
Why do I feel this in my obliques?
Feeling the obliques is normal because they help rotate and control the trunk. Even though the exercise supports middle-back mobility, the side abdominal muscles still assist the movement.
Recommended Equipment (Optional)
- Exercise Mat — useful for pairing this stretch with floor-based mobility drills.
- Foam Roller — helpful for warming up the upper and middle back before rotation work.
- Stretching Strap — useful for additional mobility routines around the shoulders and back.
- Massage Ball — can help release tight spots around the upper back before stretching.
- Mobility Stick — useful for assisted thoracic rotation drills and posture practice.
Tip: Equipment is optional for this exercise. The main requirement is controlled rotation, stable hips, and a pain-free range of motion.