Plate Pinch Squat: Grip Strength, Form, Sets, Tips & FAQ
Learn the Plate Pinch Squat to build forearm grip strength while improving lower-body control. Includes proper form, setup, execution steps, sets by goal, common mistakes, FAQs, and recommended equipment.
Plate Pinch Squat
This exercise is especially useful for lifters who want better grip carryover for deadlifts, carries, pull movements, and general forearm development. The pinch grip increases demand on the fingers, thumb, and forearm flexors, while the squat adds time under tension and total-body coordination. It works best with a controlled tempo rather than speed.
Quick Overview
| Body Part | Forearms |
|---|---|
| Primary Muscle | Forearm flexors and thumb pinch muscles |
| Secondary Muscle | Quads, glutes, calves, and core stabilizers |
| Equipment | Single weight plate |
| Difficulty | Beginner to Intermediate |
Sets & Reps (By Goal)
- Grip endurance: 2–4 sets × 8–12 reps per side with a controlled tempo and 45–75 sec rest
- Forearm strength: 3–5 sets × 5–8 reps per side using a heavier plate and 60–90 sec rest
- Athletic conditioning: 2–3 sets × 10–15 reps per side with moderate load and steady pace
- Warm-up / activation: 1–2 sets × 6–10 easy reps per side with a lighter plate
Progression rule: First increase control, total reps, or time under tension. Then move to a slightly heavier plate only when you can keep the wrist neutral and the plate stable from start to finish.
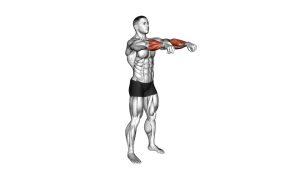
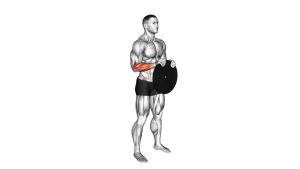
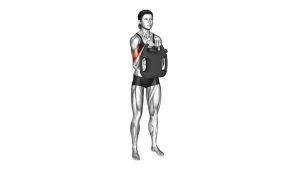
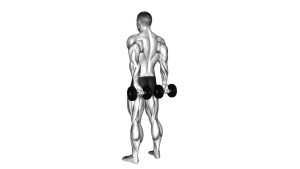
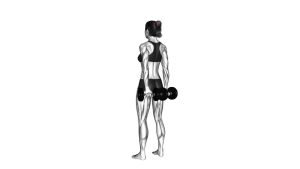
Setup / Starting Position
- Select the plate: Choose a plate you can securely hold with a pinch grip between the fingers and thumb.
- Stand tall: Place your feet about shoulder-width apart with the chest up and core braced.
- Hold the plate at your side: Let the working arm hang naturally while keeping the wrist straight and the shoulder relaxed.
- Set your posture: Keep your head neutral, ribs stacked over the hips, and avoid leaning toward the loaded side.
- Create full grip tension: Squeeze the plate before you begin the squat so the hold is secure from the first rep.
Tip: A smooth, clean rep matters more than using the heaviest plate possible. If the plate wobbles immediately, reduce the load.
Execution (Step-by-Step)
- Brace and stabilize: Tighten your core, keep the plate steady at your side, and maintain a strong pinch.
- Begin the squat: Bend at the knees and hips together while keeping the chest upright and heels grounded.
- Lower under control: Descend to a comfortable squat depth without letting the plate swing or the wrist bend.
- Pause briefly: Hold the bottom position for a moment while maintaining grip pressure and body balance.
- Drive back up: Push through the feet to stand tall, keeping the plate stable and the arm straight.
- Repeat smoothly: Perform all reps on one side, then switch hands and repeat on the other side.
Pro Tips & Common Mistakes
- Keep the wrist neutral: Don’t let the hand fold backward or forward under the plate’s weight.
- Pinch, don’t hook: The thumb and fingers should actively clamp the plate rather than rely on friction alone.
- Don’t rush the squat: Fast reps reduce grip quality and make the plate swing.
- Stay tall through the torso: Avoid leaning heavily to one side as the plate challenges balance.
- Use full-foot pressure: Keep the heels planted and the knees tracking naturally during the squat.
- Don’t go too heavy too soon: Grip work is highly sensitive to load jumps, so progress gradually.
- Train both sides evenly: Perform the same reps and sets per hand to avoid grip imbalances.
FAQ
What muscles does the Plate Pinch Squat work most?
The main target is the forearms, especially the grip-related muscles involved in pinch strength. The squat portion also challenges the quads, glutes, calves, and core for balance and support.
Is this more of a grip exercise or a leg exercise?
It is primarily a grip and forearm exercise with a lower-body component. The squat increases time under tension and coordination, but the limiting factor is usually the pinch grip.
How heavy should the plate be?
Use a plate you can hold securely without slipping or bending the wrist. Start lighter, master control, and only increase load when every rep stays steady and clean.
Can beginners do Plate Pinch Squats?
Yes. Beginners can start with a lighter plate and a shallow squat depth. The exercise becomes more challenging as grip fatigue builds, so quality should always come before load.
How can I make this exercise harder?
You can make it harder by using a heavier plate, slowing the tempo, adding a pause at the bottom, increasing reps, or performing longer sets per side.
Recommended Equipment
- Cast Iron Weight Plates — ideal for plate pinch work and progressive grip loading
- Rubber-Coated Weight Plates — durable and useful if you want a slightly different plate feel
- Grip Strength Trainer — good for adding extra forearm and hand work outside your main sessions
- Pinch Grip Blocks — useful for dedicated pinch-strength development and grip variety
- Home Gym Rubber Floor Mat — helps protect the floor if the plate slips and improves training setup safety
Tip: For this movement, a plate with a shape and edge you can consistently pinch is more useful than chasing maximum weight too early.