Suspended Split Squat: Form, Benefits, Sets, Tips & FAQ
Learn the Suspended Split Squat for stronger quads, glutes, balance, and single-leg control. Includes setup, form cues, sets, mistakes, FAQ, and gear.
Suspended Split Squat
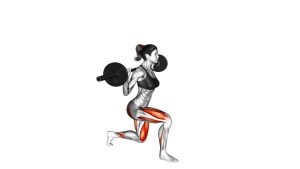
This exercise is more demanding than a basic split squat because the suspended rear foot adds instability. The front leg must control the descent, stabilize the knee, and produce the upward drive. Keep the movement slow, balanced, and precise. The rear leg should support positioning only, not push the body upward.
Quick Overview
| Body Part | Legs |
|---|---|
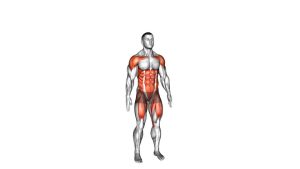
| Primary Muscle | Quadriceps |
| Secondary Muscle | Glutes, hamstrings, hip stabilizers, calves, and core |
| Equipment | Suspension trainer, anchor point, and optional exercise mat |
| Difficulty | Intermediate because of the balance and single-leg stability demand |
Sets & Reps (By Goal)
- Strength and control: 3–4 sets × 6–10 reps per leg with 60–90 seconds rest.
- Muscle building: 3–4 sets × 8–12 reps per leg with a slow lowering phase.
- Balance and stability: 2–3 sets × 6–8 controlled reps per leg with a 2-second pause at the bottom.
- Warm-up activation: 1–2 sets × 8–10 reps per leg using partial range and easy effort.
Progression rule: First improve balance and depth. Then add reps, slower tempo, pauses, or light external load only when every rep stays smooth.
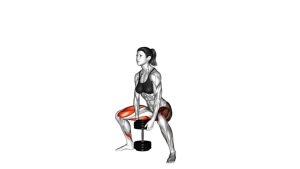
Setup / Starting Position
- Set the straps: Adjust the suspension trainer so one foot can rest securely behind you at about ankle-to-shin height.
- Place the rear foot: Put the top of your rear foot or ankle into the strap cradle. Keep the suspended leg relaxed.
- Step forward: Move the front foot far enough ahead so you can squat down without the front heel lifting.
- Square the hips: Keep both hip points facing forward. Avoid letting the suspended leg rotate your pelvis open.
- Brace lightly: Keep your ribs stacked, core active, chest proud, and eyes forward.
- Choose hand position: Place hands on hips for more challenge or extend arms slightly for balance if needed.
Tip: Before starting reps, perform one slow test descent to confirm your front-foot distance and strap height feel stable.
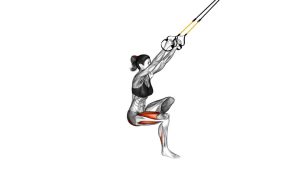
Execution (Step-by-Step)
- Begin tall: Stand on the front leg with the rear foot suspended behind you and your weight centered over the front foot.
- Lower under control: Bend the front knee and hip while allowing the rear knee to travel downward behind you.
- Keep the front heel down: Maintain pressure through the whole foot, especially the heel and midfoot.
- Track the knee correctly: Let the front knee follow the direction of the toes without collapsing inward.
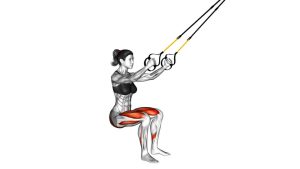
- Reach a controlled depth: Lower until the front thigh is near parallel or until your mobility allows clean form.
- Pause briefly: Hold the bottom position for a moment without bouncing or swinging the strap.
- Drive upward: Push through the front foot and extend the knee and hip to return to the top.
- Finish balanced: Stand tall without locking aggressively or leaning backward.
Pro Tips & Common Mistakes
- Keep the front foot planted: Do not let the heel rise as you descend.
- Control the suspended leg: The rear leg should stay quiet. Swinging reduces balance and increases stress.
- Do not push from the rear foot: Treat the strap as support for positioning, not as a second working leg.
- Use a slight forward lean: A natural forward torso angle helps balance and keeps the movement strong.
- Avoid knee collapse: Keep the front knee aligned with the toes to protect the knee and improve glute engagement.
- Start with partial range: A shorter clean rep is better than a deep unstable rep.
- Slow the lowering phase: A 2–3 second descent improves control, muscle tension, and stability.
- Do not rush the switch: Reset fully before changing legs so each side gets the same quality of movement.
FAQ
What muscles does the Suspended Split Squat work?
The Suspended Split Squat mainly works the quadriceps of the front leg. It also trains the glutes, hamstrings, calves, core, and hip stabilizers because the body must control balance throughout the movement.
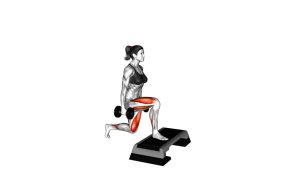
Is the Suspended Split Squat the same as a Bulgarian split squat?
It is similar, but not exactly the same. In a Bulgarian split squat, the rear foot is usually supported on a bench. In a Suspended Split Squat, the rear foot is held by a suspension trainer, which creates more instability and requires more balance.
Should beginners do this exercise?
Complete beginners should first learn bodyweight split squats or assisted split squats. Once balance and front-leg control are solid, the suspended version can be introduced with a short range of motion.
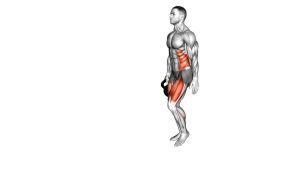
Where should I feel this exercise?
You should feel it mostly in the front thigh of the working leg, with support from the glutes and hip stabilizers. If you feel mostly strain in the rear hip or lower back, check your stance distance and keep the rear leg relaxed.
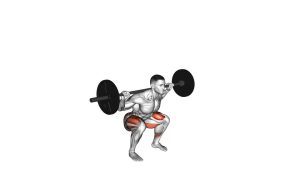
How can I make the Suspended Split Squat harder?
Make it harder by increasing depth, slowing the lowering phase, adding a bottom pause, holding dumbbells, or performing more controlled reps. Do not add load until balance and knee tracking are consistent.
Recommended Equipment
- Suspension Trainer — essential for performing the rear-foot suspended split squat variation.
- Door Anchor for Suspension Trainer — useful for home setups when a fixed overhead anchor is not available.
- Exercise Mat — provides comfort and protection if the rear knee lowers close to the floor.
- Adjustable Dumbbells — helpful for progressing the exercise once bodyweight control is mastered.
- Balance Pad — optional tool for advanced stability training and ankle-control progression.
Tip: Master the bodyweight version first. Add equipment only when the movement stays stable, controlled, and pain-free.