Power Sled Push: Form, Benefits, Muscles Worked, Sets & Tips
Learn the Power Sled Push for explosive leg drive, conditioning, and full-body strength. Includes setup, form cues, sets, mistakes, FAQ, and equipment.
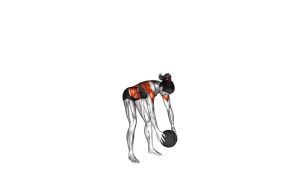
Power Sled Push
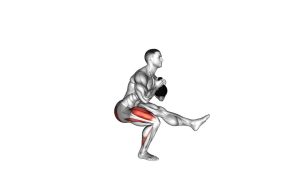
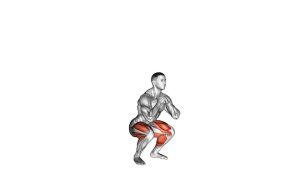
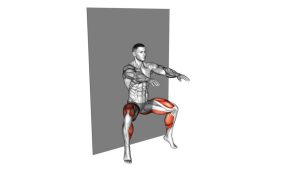
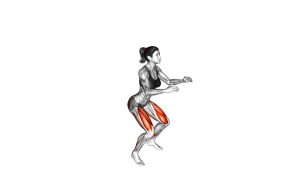
This movement is not just an arm push. The hands connect you to the sled, but the real power comes from the legs driving into the ground. A strong sled push should look controlled, aggressive, and rhythmic. The torso leans forward, the arms stay firm, and each step pushes the floor backward to move the sled forward.
Quick Overview
| Body Part | Legs |
|---|---|
| Primary Muscle | Glutes, quadriceps, calves |
| Secondary Muscle | Hamstrings, core, shoulders, chest, triceps, upper back |
| Equipment | Weighted sled / prowler sled, weight plates, turf or sled track |
| Difficulty | Intermediate |
Sets & Reps (By Goal)
- Power development: 4–6 sets × 10–20 meters with heavy but fast effort.
- Strength focus: 4–8 sets × 10–15 meters with heavier loading and longer rest.
- Conditioning: 6–10 rounds × 15–30 meters with moderate load and short rest.
- Fat-loss finisher: 5–8 rounds × 20–30 seconds of work with 45–90 seconds rest.
- Athletic sprint transfer: 3–6 sets × 10–20 meters with explosive acceleration mechanics.
Progression rule: Increase distance, load, or total rounds gradually. Do not increase all three at the same time.
Setup / Starting Position
- Load the sled: Add weight plates based on your goal. Use lighter loads for speed and heavier loads for strength.
- Grip the handles: Place both hands firmly on the sled poles or handles.
- Lean forward: Set your torso at a strong forward angle while keeping the spine neutral.
- Brace your core: Keep ribs controlled and avoid sagging through the lower back.
- Set your feet: Place one foot forward and one foot back in a sprint-style stance.
- Keep your eyes neutral: Look slightly ahead on the floor, not straight up.
Your body should feel like one strong line from shoulders to hips. The sled should move because your legs drive the ground away.
Execution (Step-by-Step)
- Brace before moving: Tighten your core and lock in your forward lean.
- Drive through the back leg: Push the floor behind you to start the sled moving.
- Take short, powerful steps: Keep your feet quick and avoid overstriding.
- Maintain constant pressure: Do not pause between steps. Keep force moving into the sled.
- Keep arms firm: Your arms should stabilize the sled, not perform the main push.
- Stay low: Keep your torso angle consistent as you accelerate forward.
- Finish under control: Slow down smoothly and avoid crashing into the sled or standing up too early.
Pro Tips & Common Mistakes
- Push the ground, not just the sled: Think about driving your feet backward into the floor.
- Stay low and strong: Standing too upright reduces horizontal force and makes the sled harder to move.
- Use short steps: Long strides often cause braking and make the sled lose momentum.
- Keep the spine neutral: Avoid rounding your lower back as fatigue builds.
- Do not shrug hard: Keep shoulders stable without excessive neck tension.
- Match load to goal: Heavy sleds build strength; moderate sleds improve conditioning and speed mechanics.
- Control the finish: Do not suddenly relax at the end of the push.
FAQ
What muscles does the Power Sled Push work?
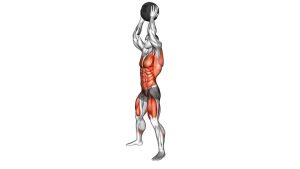
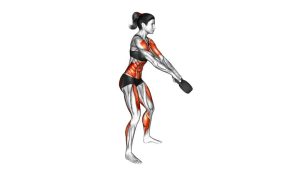
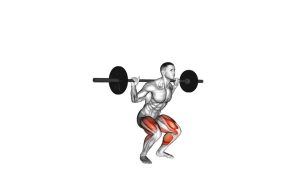
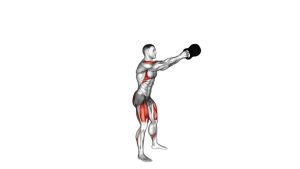
The Power Sled Push mainly works the glutes, quadriceps, calves, hamstrings, and core. The shoulders, chest, triceps, and upper back also work isometrically to stabilize the sled.
Is the sled push good for building muscle?
Yes. Heavy sled pushes can help build lower-body strength and muscular endurance, especially in the quads, glutes, and calves. For muscle-building goals, use moderate-to-heavy loads and controlled sets with full recovery.
Is the sled push better for cardio or strength?
It can be used for both. Heavy, short-distance pushes are better for strength and power. Longer rounds with moderate load are better for conditioning and fat-loss finishers.
How heavy should the sled be?
The sled should be heavy enough to challenge your leg drive but not so heavy that your form breaks down. If you cannot keep steady movement, neutral posture, and strong steps, reduce the load.
Can beginners do the Power Sled Push?
Beginners can use a lighter sled push variation, but the power version is better for people who already understand bracing, athletic posture, and controlled leg drive.
Why does my lower back get tired during sled pushes?
Your lower back may fatigue if you lose core tension, round your spine, or stand too upright. Reduce the load, brace harder, and keep your ribs and hips controlled.
Recommended Equipment
- Weight Sled / Prowler Sled — the main tool for sled push training, conditioning, and lower-body power work
- Olympic Weight Plates — used to adjust sled resistance for strength, power, or conditioning goals
- Cross-Training Shoes — provide grip, stability, and support during hard sled drives
- Weightlifting Gloves — help improve handle grip and reduce hand friction during repeated sled rounds
- Turf Strip / Sled Training Surface — useful for smoother sled movement and better traction during home or gym setups
Tip: For best results, use a surface that allows the sled to move smoothly without bouncing, sticking, or damaging the floor.