Lying Tuck-Up Knee Tap: Core Form, Sets, Tips & FAQ
Learn the Lying Tuck-Up Knee Tap for stronger abs, better core compression, and controlled hollow-body strength with form tips, sets, FAQs, and gear.
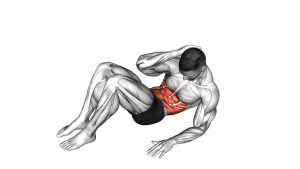
Lying Tuck-Up Knee Tap
This exercise works best when every repetition stays smooth, compact, and controlled. Because the arms and legs move at the same time, the abs must coordinate spinal flexion, pelvic control, and hip flexion without relying on momentum. As a result, the movement is excellent for building stronger abs, better hollow-body strength, and improved full-body core tension.
Quick Overview
| Body Part | Core |
|---|---|
| Primary Muscle | Rectus abdominis |
| Secondary Muscle | Hip flexors, transverse abdominis, obliques, and deep core stabilizers |
| Equipment | No equipment required; optional exercise mat |
| Difficulty | Intermediate because it requires core control through both the tuck and extension phases |
Sets & Reps (By Goal)
- Core control: 2–3 sets × 6–10 slow reps with a smooth return to extension.
- Ab strength: 3–4 sets × 8–12 reps with 45–75 seconds of rest.
- Core endurance: 2–3 sets × 12–16 reps while keeping the feet light and controlled.
- Beginner modification: 2–3 sets × 5–8 reps with the heels lightly touching down between reps.
Progression rule: First improve control, then increase reps. After that, slow the lowering phase or hold the tuck position briefly before adding more volume.
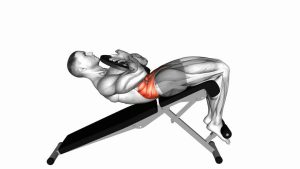
Setup / Starting Position
- Lie on your back: Start on a flat floor or exercise mat with your body long.
- Reach overhead: Extend both arms behind you while keeping the shoulders controlled.
- Extend the legs: Keep the legs straight and slightly lifted if you can maintain a stable lower back.
- Brace the core: Gently draw the ribs down and avoid letting the lower back overarch.
- Prepare to move together: The arms, shoulders, torso, and knees should begin moving as one coordinated unit.
If the extended start position feels too difficult, bend the knees slightly or allow the heels to lightly touch the floor before each rep.
Execution (Step-by-Step)
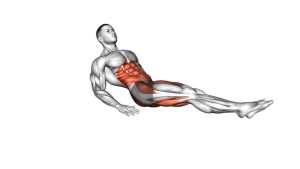
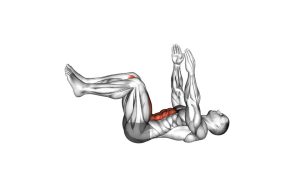
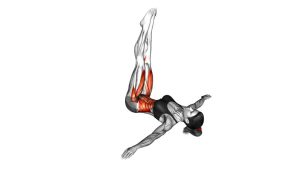
- Start long: Begin in the extended hollow-style position with arms overhead and legs reaching forward.
- Lift the upper body: Curl the shoulders off the floor as your arms travel forward.
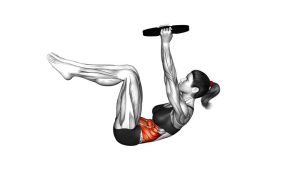
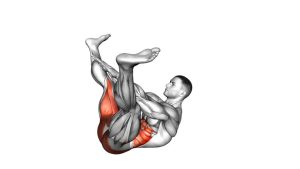
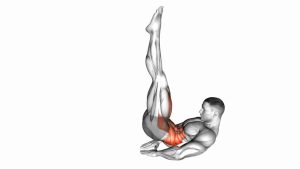
- Tuck the knees: Bend the knees toward the chest while lifting the legs and keeping the movement controlled.
- Reach and tap: Bring the hands toward the knees and lightly tap or reach close to them at the top.
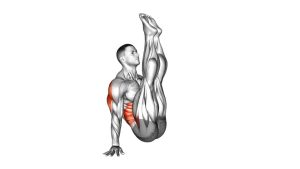
- Pause briefly: Hold the compressed position for a moment without swinging.
- Return with control: Extend the arms overhead and lengthen the legs back out slowly.
- Keep tension: Finish in the long position without relaxing completely or dropping the feet hard to the floor.
Pro Tips & Common Mistakes
- Move with control: Avoid throwing the arms forward to create momentum.
- Keep the abs engaged: Maintain rib control as you return to the extended position.
- Do not yank the neck: Let the torso curl naturally instead of forcing the head forward.
- Avoid heavy foot contact: The feet should not slam into the floor between reps.
- Tap lightly: The knee tap is a target, not a pull or grab.
- Shorten the lever if needed: Bend the knees more if your lower back loses position.
- Exhale into the tuck: Breathing out helps the ribs come down and improves abdominal contraction.
FAQ
What muscles does the Lying Tuck-Up Knee Tap work?
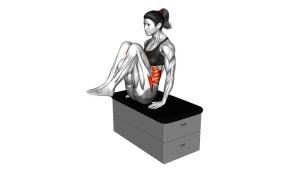
The exercise mainly works the rectus abdominis. However, the hip flexors, transverse abdominis, obliques, and deep stabilizers also help control the tuck and the return to extension.
Is the Lying Tuck-Up Knee Tap beginner-friendly?
It can be modified for beginners, but the full version is closer to intermediate. Start with shorter reps, lightly touch the heels down, or keep the knees bent if the full hollow extension is too demanding.
Should my feet touch the floor?
In the stricter version, the feet stay controlled and may hover during the movement. However, beginners can lightly touch the heels down between reps as long as they do not relax the core completely.
Why do I feel this in my hip flexors?
Some hip flexor involvement is normal because the knees move toward the chest. Even so, the abs should stay active throughout the rep. If the hip flexors dominate, slow down, exhale harder, and reduce the leg range.
How can I make this exercise harder?
You can slow the lowering phase, pause longer at the top, keep the legs straighter during the extension, or avoid touching the heels down between reps. Progress gradually so your lower back stays controlled.
Recommended Equipment (Optional)
- Exercise Mat — adds comfort for your spine and hips during floor-based core work
- Thick Yoga Mat — useful if regular mats feel too thin during lying ab exercises
- Core Sliders — helpful for related core compression and knee-tuck variations
- Adjustable Ankle Weights — optional advanced progression once bodyweight control is excellent
- Ab Workout Bench — useful for additional core training progressions and regression options
Tip: Master the bodyweight version first. Extra resistance should only be added when the lower back stays stable and every rep remains smooth.