Hanging Toes-to-Bar: Core Strength, Form, Sets, Tips & FAQ
Learn Hanging Toes-to-Bar for stronger abs, hip flexors, and grip. Get step-by-step form, sets, mistakes, FAQs, and equipment tips.
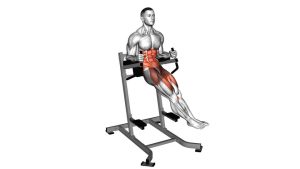
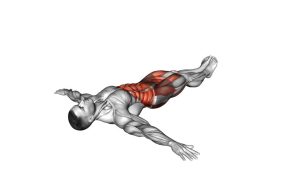
Hanging Toes-to-Bar
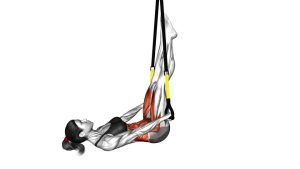
This exercise works best when the body moves as one coordinated chain. First, the athlete hangs from the bar with straight arms. Then, a controlled swing helps create momentum. After that, the hips flex powerfully as the legs rise toward the bar. Because the movement is demanding, each repetition should stay smooth, balanced, and controlled from the bottom hang to the top toe contact.
Quick Overview
| Body Part | Abs |
|---|---|
| Primary Muscle | Rectus abdominis |
| Secondary Muscle | Hip flexors, obliques, lats, shoulders, forearms, and grip muscles |
| Equipment | Pull-up bar |
| Difficulty | Advanced |
Sets & Reps (By Goal)
- Skill practice: 3–5 sets × 3–6 controlled reps, resting 60–90 seconds between sets.
- Core strength: 3–4 sets × 5–10 reps, focusing on clean toe height and controlled descent.
- Conditioning: 4–6 sets × 8–15 reps, only if rhythm and grip remain consistent.
- Progression work: 3–4 sets × 6–12 hanging knee raises or hanging leg raises before attempting full reps.
Progression rule: Add reps only when your toes reach the bar without excessive swinging, bent-arm pulling, or uncontrolled dropping.
Setup / Starting Position
- Grip the bar: Use an overhand grip with your hands slightly wider than shoulder-width.
- Start in a dead hang: Let the arms extend fully while keeping the shoulders active and controlled.
- Keep the legs together: Allow both legs to hang straight below the body before starting the swing.
- Brace the core: Prepare the trunk so the lower back does not over-arch during the swing.
- Create space: Make sure the bar area is clear so your feet can travel safely upward.
Tip: A strong starting hang improves the entire repetition. Therefore, avoid beginning with loose shoulders, a weak grip, or uncontrolled body movement.
Execution (Step-by-Step)
- Begin from the hang: Hold the bar firmly with straight arms and let the body settle under control.
- Start a controlled swing: Move through a small forward-and-back rhythm without losing shoulder tension.
- Drive the hips: As the body swings, engage the abs and hip flexors to lift both legs together.
- Pass through the L-position: Keep raising the legs as they move through roughly hip height.
- Compress at the top: Lean back slightly and bring the toes up to the bar while keeping the movement tight.
- Touch or reach the bar: Aim for both feet to reach the bar at the same time.
- Lower with control: Let the legs descend smoothly instead of dropping them suddenly.
- Reset the rhythm: Return to the hanging swing and repeat only if your timing stays clean.
Pro Tips & Common Mistakes
- Use active shoulders: Keep the shoulders stable instead of hanging passively from the joints.
- Lift both legs together: Avoid twisting, uneven foot height, or one leg rising faster than the other.
- Control the descent: Dropping the legs too fast can increase swinging and reduce core control.
- Do not pull with the arms: The elbows should stay mostly straight because this is not a pull-up variation.
- Keep the rhythm consistent: A smooth swing helps the toes reach the bar without wasted effort.
- Avoid excessive knee bend: A slight bend may happen near the top, but the movement should not turn into a knee raise.
- Stop before grip failure: Once your grip weakens, technique usually breaks down quickly.
FAQ
What muscles does the Hanging Toes-to-Bar work?
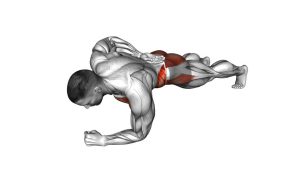
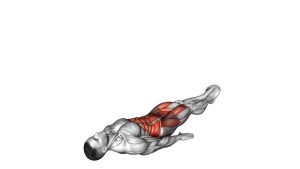
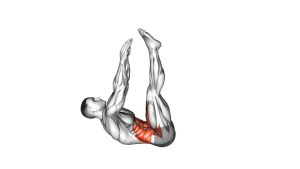
The Hanging Toes-to-Bar mainly works the abs, especially the rectus abdominis. In addition, it trains the hip flexors, obliques, lats, shoulders, forearms, and grip because the body must hang, swing, compress, and stabilize at the same time.
Is the Hanging Toes-to-Bar beginner-friendly?
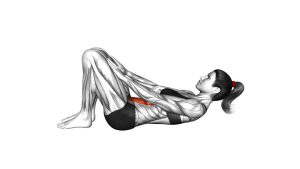
No. This is usually an advanced core exercise. Beginners should first master dead hangs, hanging knee raises, lying leg raises, and controlled hanging leg raises before attempting full toes-to-bar reps.
Is this exercise strict or kipping?
The demonstrated version uses a controlled kipping rhythm. Because of that, momentum helps the legs rise to the bar. A strict toes-to-bar uses less swing and demands much more raw core and hip flexor strength.
Why can’t I get my toes all the way to the bar?
The most common reasons are limited compression strength, weak hip flexors, poor swing timing, tight hamstrings, or grip fatigue. Therefore, practice hanging knee raises, straight-leg raises, and controlled kip swings first.
Should my arms bend during toes-to-bar?
Your arms should stay mostly straight. If you bend the elbows heavily, you may be turning the movement into a pull-assisted leg raise instead of a clean hanging toes-to-bar.
Recommended Equipment
- Pull-Up Bar — essential for hanging toes-to-bar practice at home or in a garage gym
- Gymnastics Grips — helps protect the hands during high-rep hanging core work
- Liquid Chalk — improves grip security when hanging from the bar
- Resistance Bands Set — useful for warm-ups, shoulder activation, and assisted core progressions
- Hanging Ab Straps — helpful for easier hanging knee raise progressions before full toes-to-bar
Tip: Choose equipment that supports safe hanging, strong grip, and smooth progression. However, do not use gear to force advanced reps before your shoulders, core, and grip are ready.