Standing Hamstring and Calf Stretch with Band: Form, Benefits, Tips & FAQ
Learn the standing hamstring and calf stretch with band to improve posterior-chain flexibility, ankle mobility, and leg control safely.
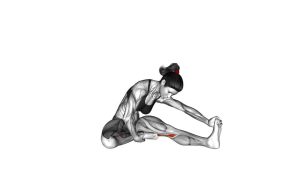
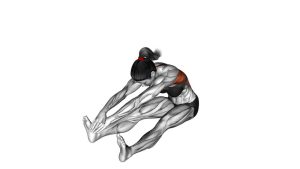
Standing Hamstring and Calf Stretch with Band
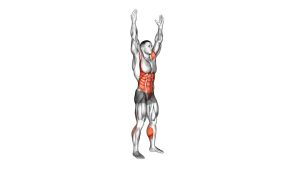
This exercise is useful when you want to improve posterior-chain flexibility, reduce stiffness in the hamstrings and calves, and build better control during lower-body mobility work. Because the stretch is performed while standing, it also challenges balance, core control, and support-leg stability.
Quick Overview
| Body Part | Hamstrings |
|---|---|
| Primary Muscle | Hamstrings |
| Secondary Muscle | Calves, especially gastrocnemius; support-leg glutes and core assist with balance |
| Equipment | Resistance band, stretching strap, yoga strap, or towel |
| Difficulty | Beginner to Intermediate, depending on balance and flexibility level |
Sets & Reps (By Goal)
- General flexibility: 2–3 sets × 20–40 seconds per side
- Pre-workout mobility: 1–2 sets × 8–12 controlled reps per side, using a gentle pull-and-release rhythm
- Post-workout stretching: 2–4 sets × 30–45 seconds per side with relaxed breathing
- Ankle dorsiflexion focus: 2–3 sets × 10–15 slow band-assisted toe pulls per side
- Balance and control: 2–3 sets × 15–25 seconds per side while keeping the torso stable
Progression rule: Increase stretch time before increasing intensity. The best progression is a calmer hold, better balance, and a smoother toe pull—not a harder band yank.
Setup / Starting Position
- Choose your band: Use a resistance band, strap, towel, or long loop band that can safely wrap around the forefoot.
- Loop the band: Place the band around the ball of one foot, not only around the toes.
- Stand tall: Keep your support foot planted and your torso upright before lifting the working leg.
- Extend the working leg: Bring one leg slightly forward with the knee mostly straight but not aggressively locked.
- Create light tension: Hold the band ends with both hands and gently pull until you feel the toes move toward the shin.
- Brace softly: Keep the ribs stacked, shoulders relaxed, and eyes forward to help balance.
If balance is difficult, stand near a wall, rack, chair, or stable surface. The goal is a clean stretch, not a balance contest.
Execution (Step-by-Step)
- Start from a stable stance: Plant the support foot firmly and keep your posture tall.
- Lift and extend the working leg: Move the banded leg slightly forward while keeping the knee mostly straight.
- Pull the toes back: Use the band to guide the toes toward the shin, creating a calf stretch.
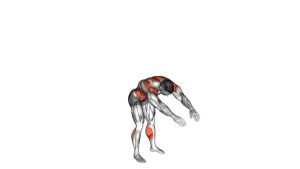
- Hinge slightly from the hips: Lean forward only as much as needed to feel the hamstring stretch without rounding the lower back.
- Hold the stretch: Breathe slowly and keep the working leg controlled rather than shaking or bouncing.
- Release with control: Ease band tension gradually and return the ankle toward neutral.
- Switch sides: Repeat with the opposite leg using the same controlled setup and intensity.
Pro Tips & Common Mistakes
- Pull gently: The band should assist the stretch, not force the ankle into an extreme position.
- Keep the knee soft: A mostly straight leg is useful, but avoid hard knee locking or hyperextension.
- Hinge from the hips: Do not round the lower back just to reach deeper.
- Control the band: Avoid snapping the toes forward when releasing tension.
- Do not bounce: Fast bouncing can irritate the hamstrings, calf, or Achilles tendon.
- Use support when needed: Holding a wall or rack can improve stretch quality by reducing balance stress.
- Match both sides: Spend equal time on each leg, especially if one side feels tighter.
- Breathe slowly: Exhale during the deeper part of the stretch to reduce unnecessary tension.
FAQ
What muscles does the standing hamstring and calf stretch with band target?
It mainly targets the hamstrings and calves. The hamstrings stretch because the leg is extended while the hip hinges slightly forward. The calves stretch because the band pulls the toes toward the shin.
Should my working leg be completely straight?
The working leg should be mostly straight, but it should not be aggressively locked. A small natural bend is acceptable, especially if you feel pressure behind the knee.
Is this exercise better before or after a workout?
It can be used both ways. Before training, use shorter dynamic reps with gentle band tension. After training, use longer, relaxed holds to support flexibility and recovery.
Why do I feel this more in my calf than my hamstring?
You may be pulling the toes back strongly with the band. To shift more emphasis toward the hamstrings, reduce band tension slightly and hinge more from the hips while keeping the spine neutral.
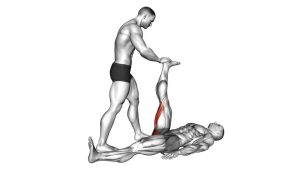
Can beginners do this stretch?
Yes, but beginners should use a light band, stand near support, and keep the stretch mild. If balance makes the exercise difficult, a seated or lying band hamstring stretch may be easier.
What should I avoid during this stretch?
Avoid bouncing, yanking the band, rounding the lower back, locking the knee hard, or forcing the toes too far back. The stretch should feel controlled and comfortable.
Recommended Equipment
- Resistance Bands Set — useful for assisted hamstring, calf, hip, and mobility drills
- Stretching Strap with Loops — provides easier grip and controlled tension during leg stretches
- Yoga Strap — simple option for assisted flexibility and mobility work
- Non-Slip Exercise Mat — improves footing and comfort during mobility sessions
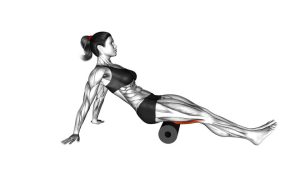
- Foam Roller for Legs — helpful for warm-up tissue prep before hamstring and calf stretching
Tip: Choose equipment that helps you control the stretch. A strap is often easier for beginners, while a band adds more elastic tension.